![]()
![]()
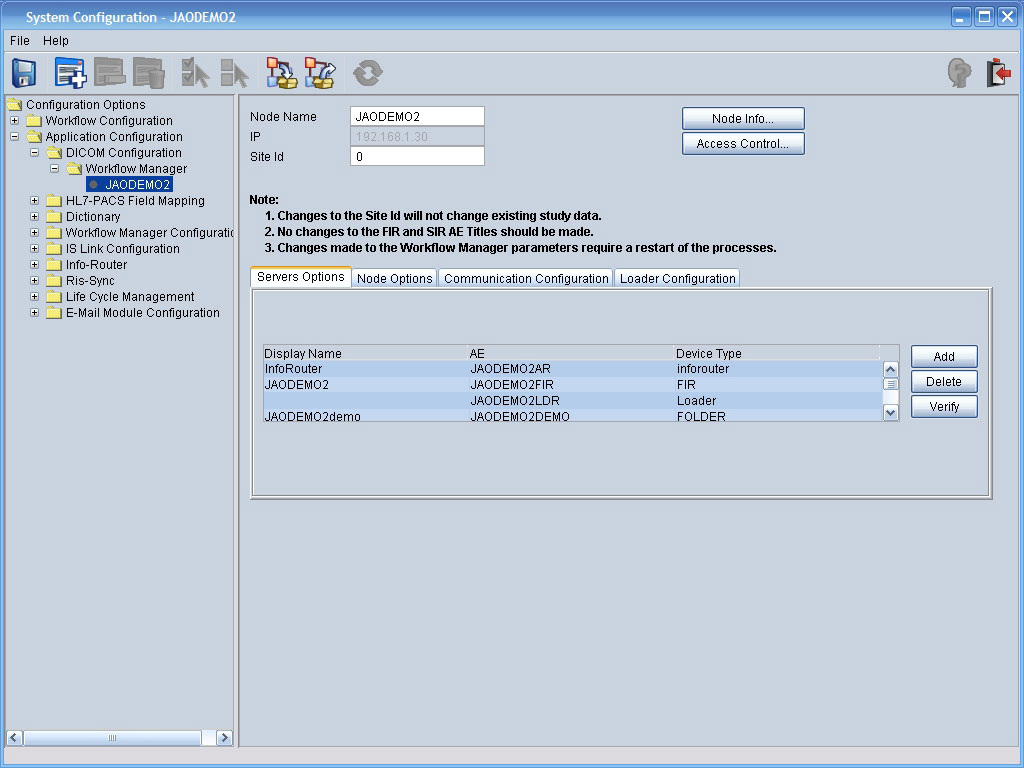
The DICOM configuration allows you to configure servers and printers using the System Configuration.
See this topic:
Verifying the DICOM Connection
For each Transfer Syntax Policy in the left column, those in the right column are offered and accepted in DICOM Associations.
|
TX Offered/Accepted | |
|
Standard DICOM |
Implicit little, explicit big, explicit little |
|
Implicit Little |
Implicit Little Endian |
|
Private |
Private transfer syntax for internal communication between System 5 components, suitable also for communication with LTSMa |
|
JPEG Lossless |
JPEG Lossless 1st Order predictions, JPEG Lossless PR14 |
|
JPEG Lossless 1st Order Predictions |
JPEG Lossless 1st Order predictions |
|
JPEG Lossless PR14 |
JPEG Lossless PR14 |
|
JPEG Lossy |
JPEG Lossy Baseline, JPEG Lossy Extended |
|
JPEG Lossy Baseline |
JPEG Lossy Baseline |
|
JPEG Lossy Extended |
JPEG Lossy Extended |
|
JPEG Lossy/ |
|
|
RLE Lossless |
RLE Lossless, compressed or uncompressed |
|
Custom |
Can define additional custom TX. See also Enhanced TX support. |
|
Field Name |
Description |
|
Associations Limit |
The maximum number of associations created by the Workflow Manager (WFM) to this node upon move request. |
|
Supports DX Store Presentation State |
IS DX allowed to store Presentation State (PR) to this node? |
|
Supports Patient Root |
Does this node support the DICOM Patient Root query/retrieve model? |
|
Supports Study Root |
Does this node support the DICOM Study Root query/retrieve model? |
|
Supports Image Query |
Does this node support queries at the image level? If disabled, the CARESTREAM PACS Client do not allow exploration to image level in the Archive Explorer. |
|
Secure Server (TLS) |
Is DICOM to be used over SSL? |
|
Invoke Filter |
In CARESTREAM PACS Client the filter is invoked automatically. This option is used to avoid excessively long queries to this node. |
|
Create Folders in DX |
Should this server appear in the CARESTREAM PACS Client Archive Explorer? |
|
Search |
What is the display name of the Search Folder in CARESTREAM PACS Client Archive Explorer? This allows non-English users to change the display name of the folder. |
|
All Studies |
What is the display name of the All Studies Folder in CARESTREAM PACS Client Archive Explorer? This allows non-English users to change the display name of the folder. |
|
All Patients |
What is the display name of the All Patients Folder in CARESTREAM PACS Client Archive Explorer? This allows non-English users to change the display name of the folder. |
|
Presentation State C-Move Policy |
Determines what to do with Presentation States when they are copied to this server. See Presentation_State_C_Move_Policy table. |
|
Transfer Syntax Policy |
See Transfer Syntax Policy table. |
|
Storage Commitment Policy |
See Storage Commitment Policy table. |
|
Presentation State C-Move Policy |
Description |
|
Standard (As is) |
Presentation States are moved as normal images. (Default &endash; should only be changed for specific reasons) |
|
Move with Referenced Images |
Presentation States are moved together with all referenced images, even if they were not requested. |
|
Apply Presentation State |
Presentation State is applied to the referenced images and this unified result is stored to the server. |
|
Ignore Presentation State |
Presentation States are not moved to this server regardless of any prior command. |
|
Storage Commitment Policy |
Description |
|
Same Association |
Storage Commitment response to this server is provided using the same association created by the request. |
|
New Association |
Storage Commitment response to this server is provided using a new association. |
|
Not Allowed |
Storage Commitment is neither offered nor accepted in DICOM Association to this server. |
1. On the left pane, click Configuration Options and then select DICOM Configuration.
2. Click Create Device.
3. Select Printer
4. Click the Create Device button or the Add icon on the toolbar.
A dialog box appears.
5. Select the printer to be added from the menu. Check the box if you want to set this printer as the default printer.
6. If required, change any of the default settings for Color, Magnification Type, Orientation, Film Size, Medium Type, and Polarity.
7. Select the Transfer Syntax Policy from the menu. See Transfer Syntax Policy.
8. Click Add to add the new device.
1. On the left pane, click Configuration Options and then select DICOM Configuration.
2. Click Create Device.
3. Select Modality
4. Click the Create Device button or the Add icon on the toolbar.
A dialog box appears.
5. Click Add at the bottom of the dialog box to add the new modality.
The window expands and all the Modality device information appears.
6. Click the Add button on the right side of the window.
7. Check the boxes as appropriate. See Standard Fields for details.
1. On the left pane, click Configuration Options and then select DICOM Configuration.
2. Click Create Device.
3. Select Workstation.
4. Click the Create Device button or the Add icon on the toolbar.
A dialog box appears.
5. To add another Workstation device, click Add.
6. Complete the fields as appropriate. See Repeated Fields Explanations for details.
1. On the left pane, click Configuration Options and then select DICOM Configuration.
2. Click Create Device.
3. Select Archive.
4. Click the Create Device button or the Add icon on the toolbar.
A dialog box appears.
5. Complete the fields as appropriate:
ESIR&endash;this server is used as an ESIR for CARESTREAM PACS Workflow Manager.
NOTE: Unchecking this box deletes all ESIR locations from the CARESTREAM PACS Workflow Manager database.
Add ESIR Backup Rule–a backup rule is added/removed to/from CARESTREAM PACS Info Router.
NOTE: Unchecking this box cancels the backup of the studies by CARESTREAM PACS Info Router.
Alias To&endash;the AE title of the main FIR.
See Repeated Fields Explanations for details.
1. On the left pane, click Configuration Options and then select DICOM Configuration.
2. Click Create Device.
3. Select ProVision.
4. Click the Create Device button or the Add icon on the toolbar.
A dialog box appears.
5. Complete the fields as appropriate.
See Repeated Fields Explanations for details.
NOTE: The administrator can similarly create these devices: LTSM Advanced, Remote FIR, and Remote Cimbox.